Ort Jar Finish Instructions
A pdf of this page that includes pictures is available here.


Finishing
Instructions:
“Sandwich Cookie” Finish

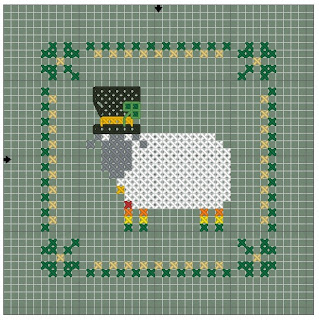
The finishing method for this project can be used on any ornament or round project.
First, using the large circle template, cut out the entire circle.
Fold in half and cut out the inner circle. You will use this as a design window to center your stitching before cutting.
Center your design and trace around the outside of the circle.
Cut out your design. I like to treat my edges with fray stop, but it is not mandatory.

Leaving a 6” tail at the start of your stitching, begin on the front side of your design. Stitch a running stitch approximately ¼” from the edge of your circle with thread, leaving a 6” tail at the end.
Place the design over the lid, pull both threads to gather the fabric. Add stuffing if desired, then pull to tighten and knot securely.

Repeat this procedure for the bottom piece over cardstock which will be on the inside of your jar lid.

Align both pieces, and pressing firmly together, whip stitch both sides together. Insert lid face up into your ort jar and enjoy!